1. What is it?
A text block is a reusable piece of content within contractuo. It can include:
- Standard text, clauses, or paragraphs
- Smart fields (e.g., names, dates, values)
Text blocks can be inserted into document templates or used directly in individual documents to ensure consistency and save time.
2. Who is it for?
This feature is especially useful for users involved in template creation or document standardization:
- Legal teams
- Contract managers
- Template administrators
- Anyone ensuring consistent language in documents
3. Why use text blocks?
✅ Consistency
Ensures approved clauses and standard wording are used across all relevant documents.
✅ Efficiency
Saves time by eliminating repetitive typing or copy-pasting.
✅ Centralized management
Update a clause once and use the new version in future documents.
✅ Compliance
Use pre-approved blocks to stay aligned with legal and company standards.
4. Use cases
- Standard clauses: Confidentiality, liability, force majeure, governing law.
- Company information: Standard company name, address, contact details.
- Product/service descriptions: Reusable product or service copy across contracts and proposals.
5. Requirements
You need the appropriate user permissions to access and manage Core Elements → Text Blocks.
6. How to create a text block
- Navigate to the main menu Documents (on the left side).
- Then click on Core Elements in the top menu.
- Select Text Blocks from the dropdown to open the overview screen.
- Click Create New. A pop-up titled Text Block appears.
- Fill in the details:
- Name: Clear and descriptive (e.g., Standard Confidentiality Clause – Mutual)
- Nickname: Short reference name (e.g., NDA Clause)
- Description: Brief explanation of the block’s purpose
- Tags (optional): Select tags for easier filtering
- Document Type (optional): E.g., NDA, Service Agreement
- Jurisdiction (optional): If relevant, set legal jurisdiction
- Translations (optional): Define the language used
- Click Next to open the text block editor.
- Enter or paste your content into the main text area.
- Use the formatting toolbar to style your content.
- (Optional) Use the Toolbox on the right to insert smart fields.
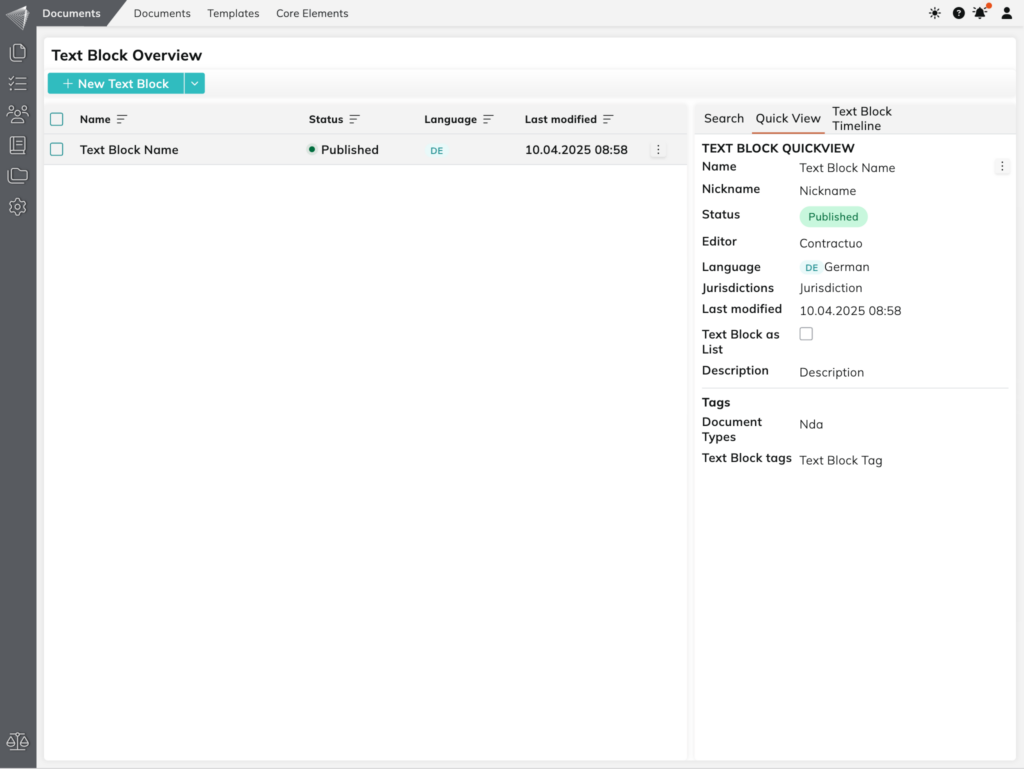
- Click Publish to save your new text block.
Once published, your text block appears in the overview list and can be reused across templates and documents.
7. Best practices & tips
- Naming convention: Use a clear, consistent name format (e.g., Confidentiality Clause – Mutual).
- Use tags & filters: Leverage tags, document types, and jurisdiction filters for better organization.
- Granularity: Use smaller blocks where possible for flexibility and reusability.
- Smart fields: Add smart fields to automate variable data (like names or amounts).